In the last years I read already a few times about the iPod now being super upgradable to an SSD or micro SD nearly as big as you want.
Source: https://hackaday.com/2022/02/16/classic-ipods-are-super-upgradeable-in-2022/
So I looked up the parts already a while ago on Amazon, but they were pretty expensive, so I decided to wait or don’t do it. But a few weeks ago I saw one part being available on AliExpress, so I instantly looked up the other parts and ordered (round about 30€). See below for part links (just for example). Last week all parts arrived and I started my project and put everything together. If you also want to do that, here is a link on how to dis-/assemble the iPod:
As I wanted to minimize the risk for shorts and loose parts inside, I 3D-printed two thin layers of TPU to place between adapter and backplate and between adapter and board.


I then assembled everything (without closing the case!) and restored the iPod using my old MacBook (2013 - running macOS BigSur). I restored the partition in finder and then restored the iPod with Apple Music. Tried with windows first, but couldn’t get it to work. Works like a new one now! Definitely recommend if you have one laying around.
Ask me if you have any questions :)
The printable case I made is available for free here:
https://www.printables.com/de/model/554008-ipod-classic-5g-30gb-case-with-hexagon-back


Parts:
CF to microSD Adapter:
CF Upgrade Card:
Shell replacement (optional):
Edit/Update:
I made a dock for it, that works with the charging/sync cable and fits my case.
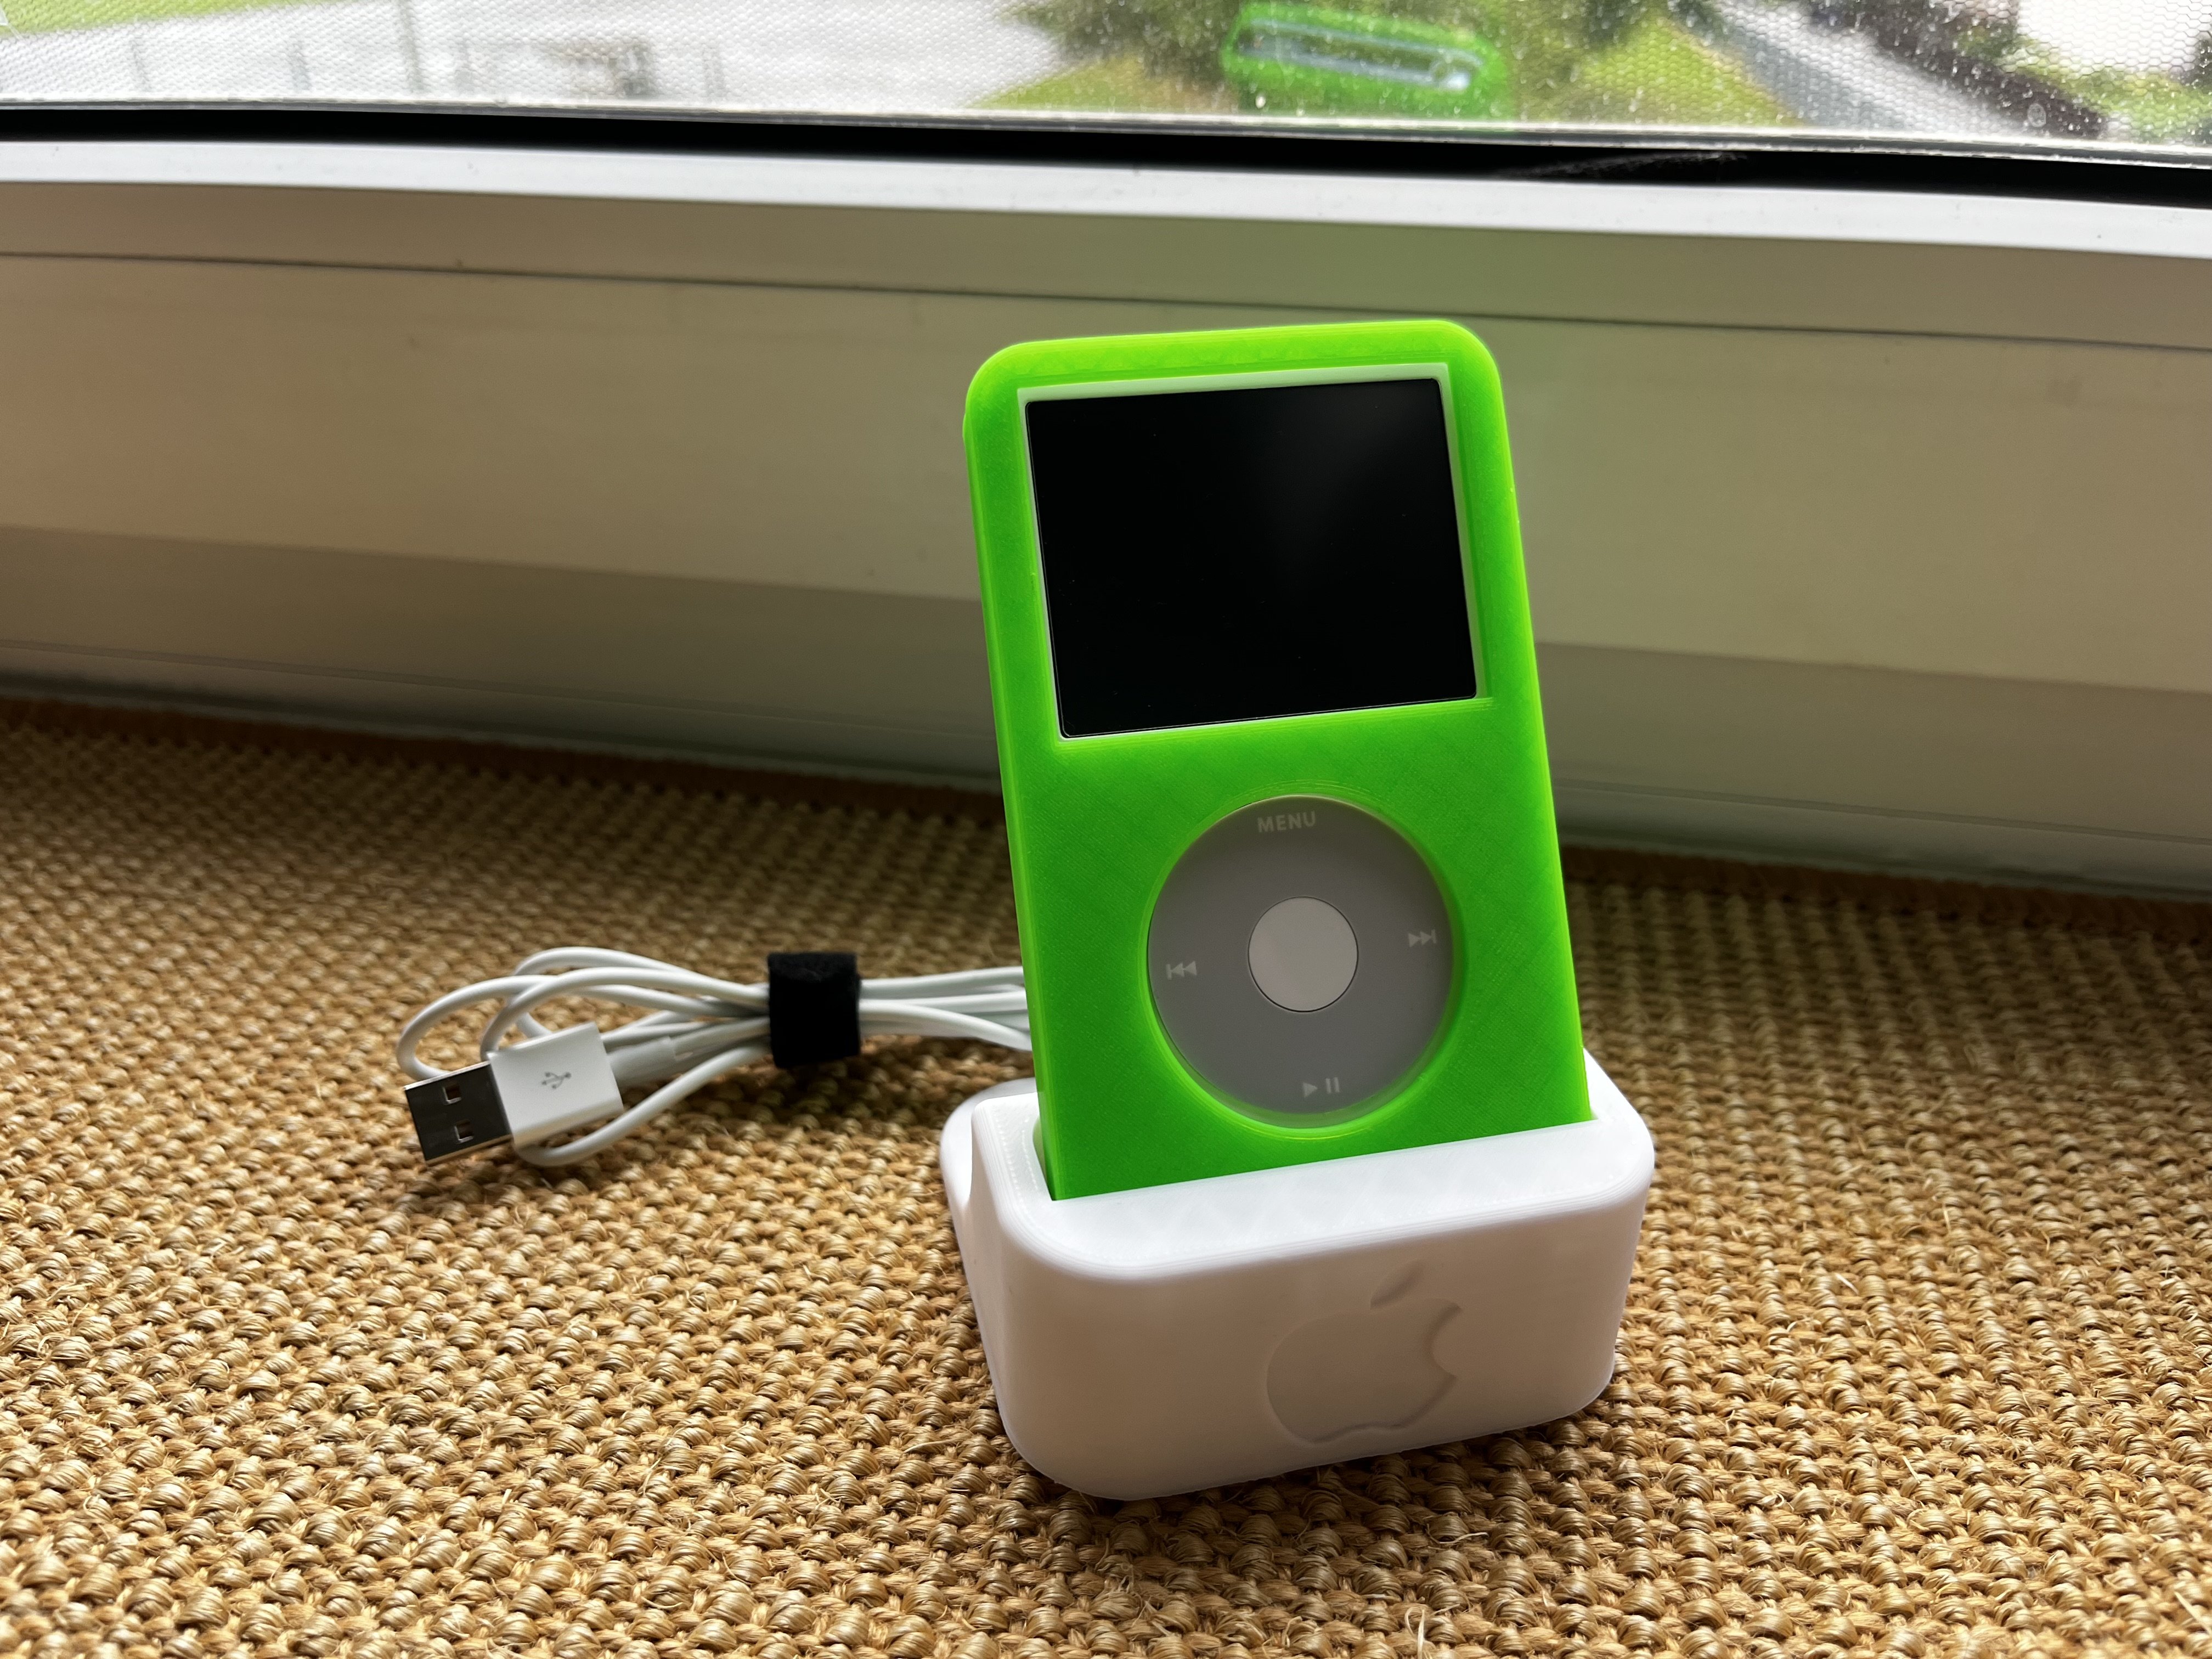
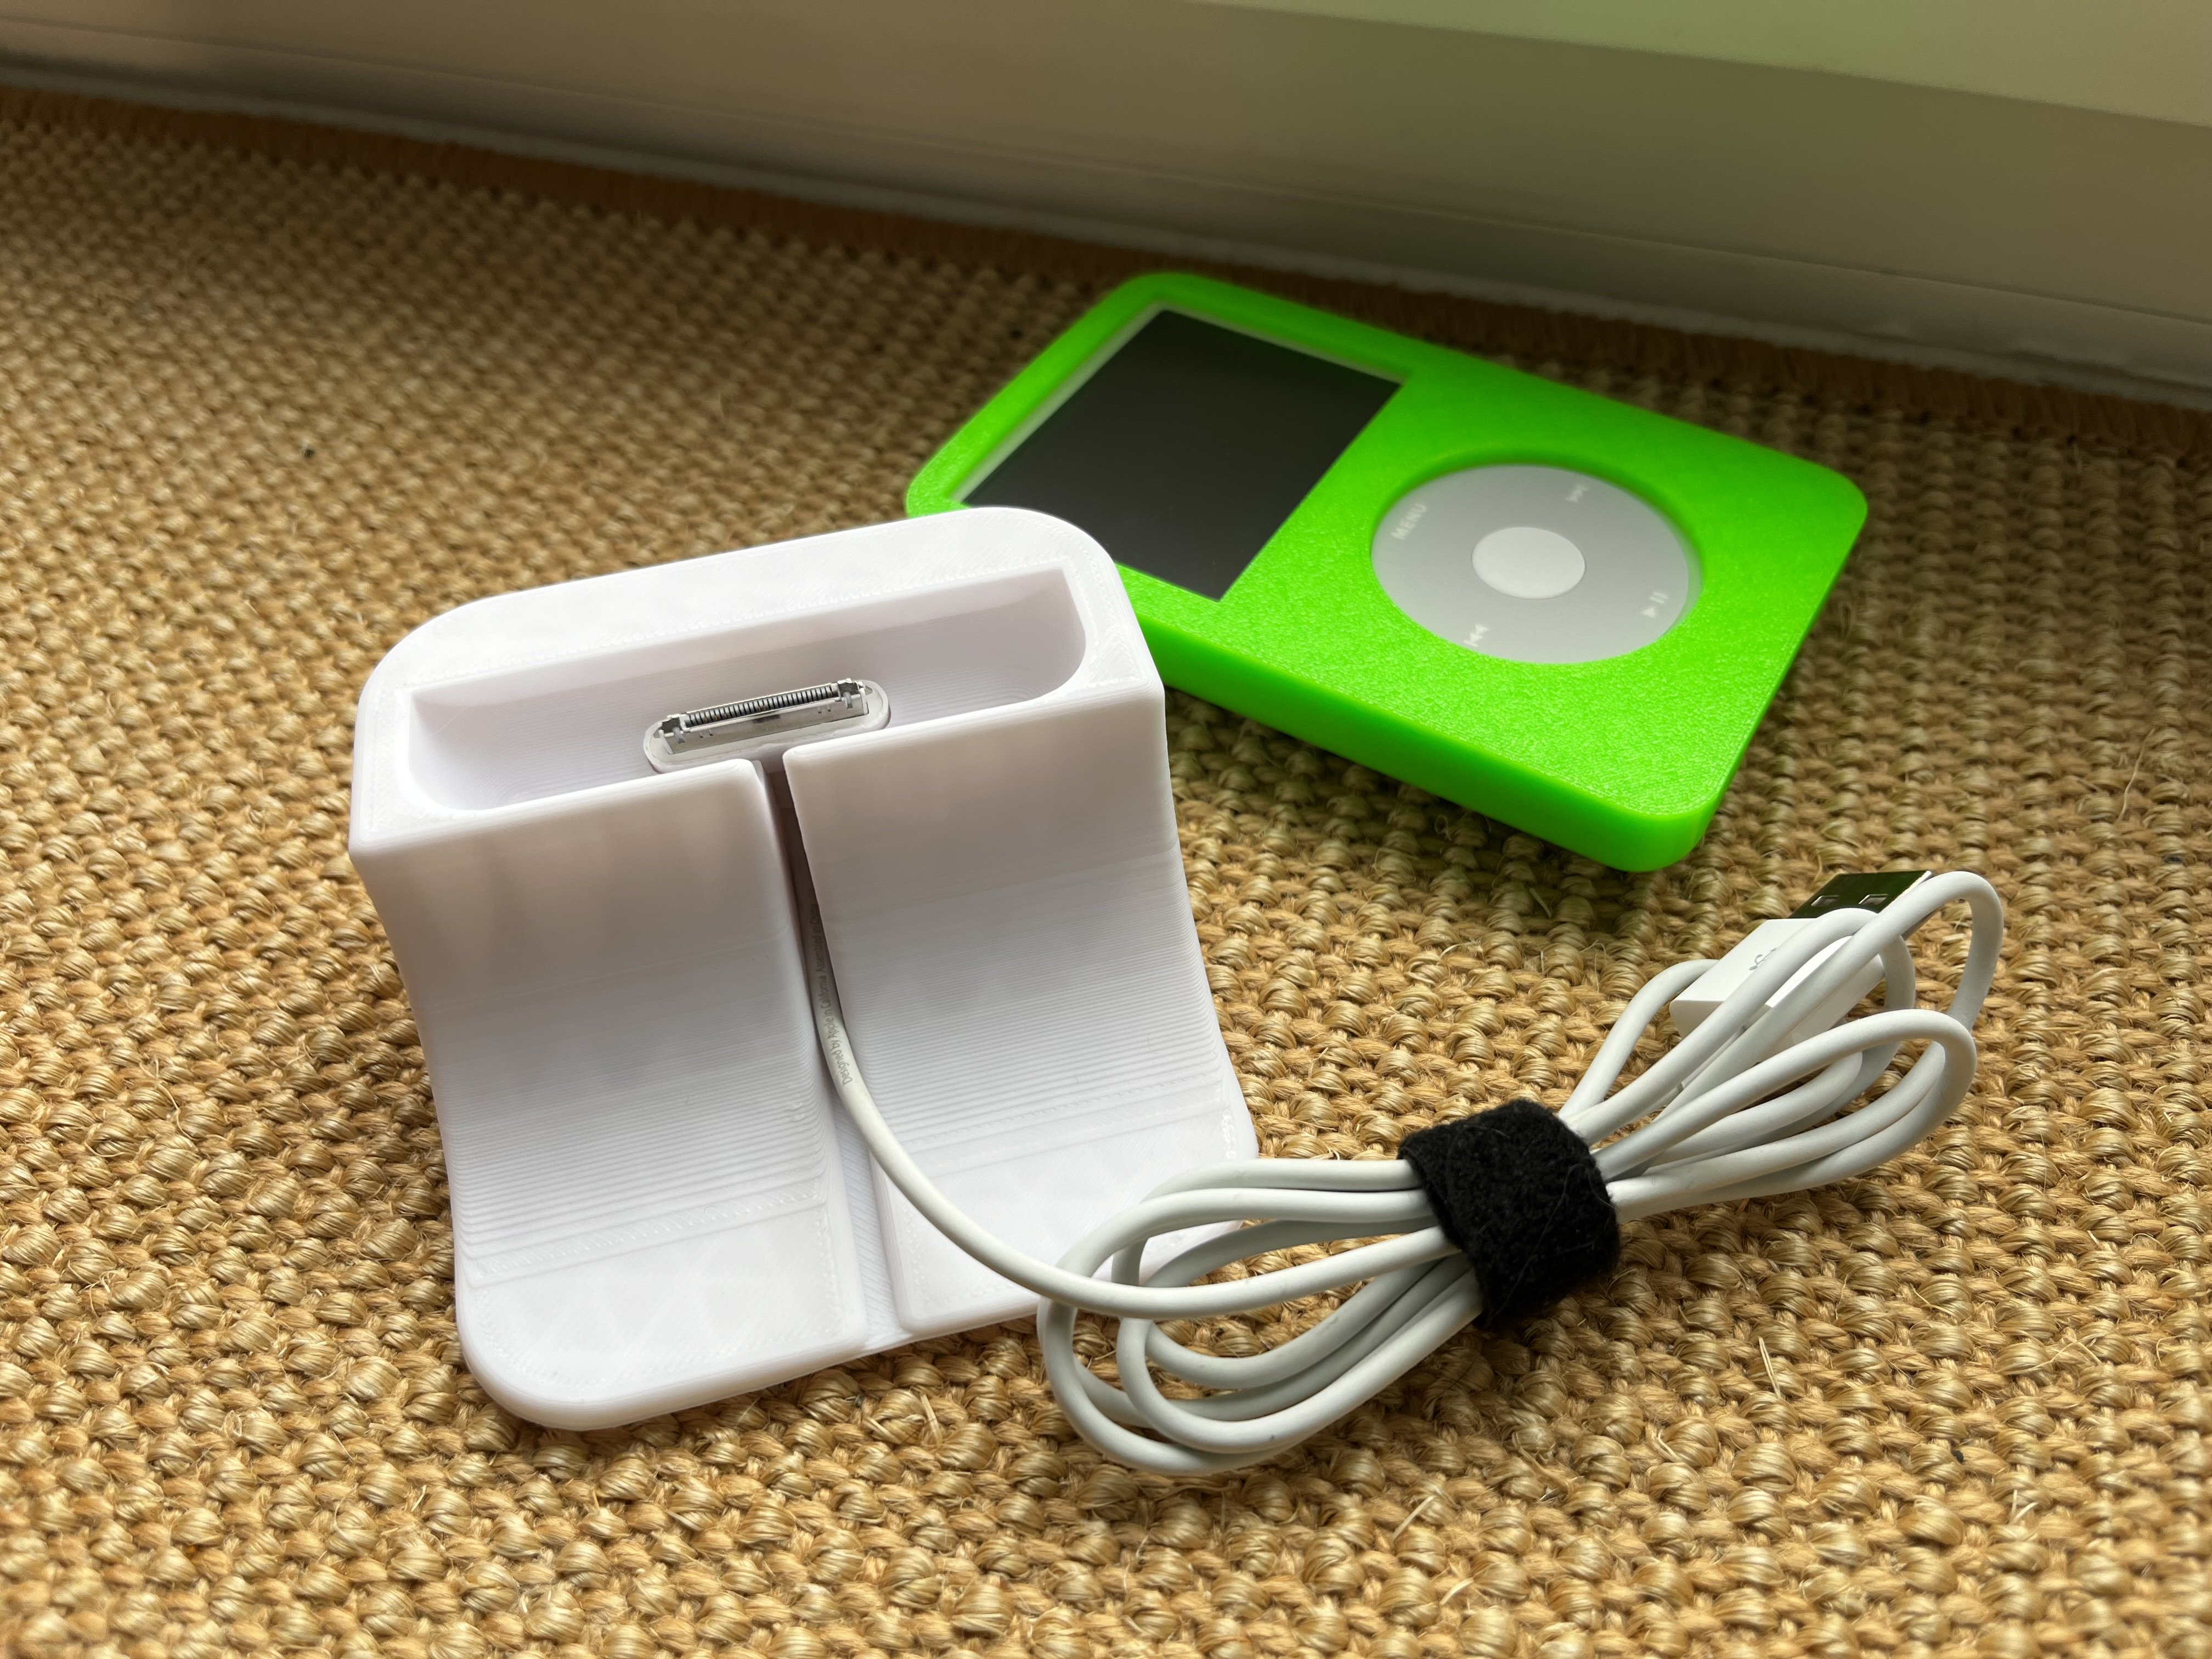
Here are the print files for the dock:
https://www.printables.com/de/model/555680-ipod-dockstand-for-gorroths-tpu-case
Edit/Update 2:
I now also made a storage/travel box you can 3D-print available to download here:
https://www.printables.com/de/model/565265-ipod-classic-5-box-inkl-kabel-management-airtag-ed
Look at my post on the box here for details:
This is super awesome. I’ve always wanted to do like a 1tb personal music archive one with a huge battery. The enclosure makes this one extra special.
Thank you! Yes I too wanted to have my local music library on a portable device. That’s the reason I never threw away my iPod even though the HDD was defective since like 2010. I always thought :“one day…“ and now I am super happy :)
I wish the zune community was this extensive, maybe it is? I loved the zune too, honestly didn’t get the tribalism towards one or the other. An og model zune with a massive battery and some flash would be very cool.
I absolutely love my Zune HD but I’m not going to be upgrading the hard drive on it. My iPod classic was an easy upgrade
Did you ever use windows phone by chance? It was so beautiful and surprisingly easy to navigate. It was very inspired by the Zune design language.
Hmm… The zune never was a big thing in Europe, so I never actually saw one in real life. But as far as I know the memory-chip is soldered on, so I don’t think there is an easy way to upgrade. The battery is said to be replaceable though. I don’t mind what hardware one is using. It has to fit your needs, not everyone’s. For me the iPod was the one thing I always had with me since I got it in 2005(?), so for me there is a heavy nostalgic factor that got me to do this.
I know it’s off topic but I’ve always thought it would be cool to put a MacBook into a transparent plastic shell.
You mean like those old GameBoys? The bottom side would look pretty cool, but i could imagine the back of the display would look a bit boring. But that sounds like an interesting project. Do such shells even exist?
I have no idea, I feel like the screen would be tough as it’s pressed with glass and the keyboard is riveted in I believe. It would probably be more doable for older iBooks and MacBooks that are plastic.
Hmm… yes you are probably right. There are DBrand decals that look like the interior, but I know that’s just not the same…
Awesome! Next update should be USB-C
Thanks! Actually I looked up if that’s possible somehow, but unfortunately it seems not. Or at least not in an easy way
I mean the pins are there. You would need to des older the connector and install a female USB-C one with 4 pins. Something like this. Then you’d likely need to print some holder/cover. For it.
Yes you are right. Designing a holder or cover for it to hold it in place wouldn’t be a problem for me once it’s soldered in (especially as there are two little screws holding a plastic surrounding of the 30pin I could repurpose). But I don’t have the tools and skill to solder something that small…
I see, the connector is soldered to the main board directly, you’d need to desolder it which is a risk. Second best is to take an old docking cable and change the USB-A to USB-C… also digging into that connector pin out… it’s crazy! It has USB, FireWire, analog video and analog audio out!!! No wonder it had so many pins!
Yep I saw that when it was disassembled. But as I use this one with my 2013 MacBook Pro, which has USB A Ports I think I’m good for now :)
Good write up. I imagine most people interested in iPods know about him but for those that don’t DankPods has a lot quality entertaining videos on modding iPods.
Here’s his 1tb iPod video.
Thank you! Actually I didn’t know him, thanks for adding a link!
Looks great! The iPod modding scene is alive and well. eBay is full of used/for-parts pods that often require a simple battery replacement to get up and running again. My favorite website for aftermarket parts and accessories is Elite Obsolete Electronics.
Looks great.
Thank you :)
Why did you pick that CF to micro SD instead of this https://www.iflash.xyz/store/iflash-solo/ ?
Why did OP pick a $6 one over a $30 one?
Yep you got it :) I wanted to spend as less money as possible. And even with the 6$ card the iPod feels way faster than before. I don’t need 1TB for my music library, so that setup was the best choice for me. I also had a 128GB microSD laying around, but 64GB is more than enough for me.
I just did this one and it’s absolutely perfect
This is so cool! Wish I had the confidence to do this, looks great.
Thanks! It really isn’t that hard to do. It’s important to just take your time, be patient and don’t use much force. There are really good tutorials out there you can watch before doing this, so you are prepared really good. And if there are questions, I know a good community here on Lemmy where you can ask ;)
